Due to the nature of automotive/industrial design, most of my projects are under an NDA. The concept on this page is a personal blue-sky concept. This work is very liberating because I do not have to follow the limitations of normal design, being manufacturing, cost and materials. However, I still believe that any design must be rooted in reality. This helps the viewer better connect to the design.
On this page, I will go through my process of designing a car from sketches to an class-A surfaced CAD model with renderings.
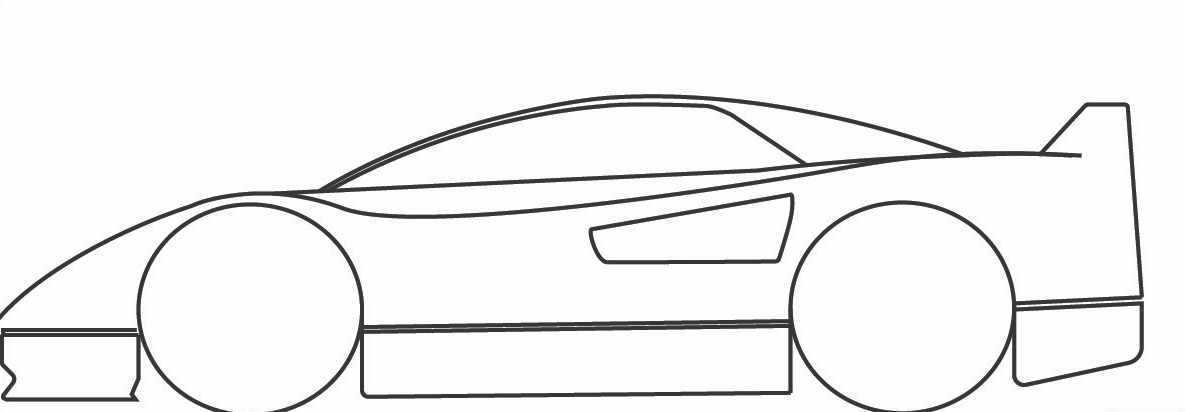
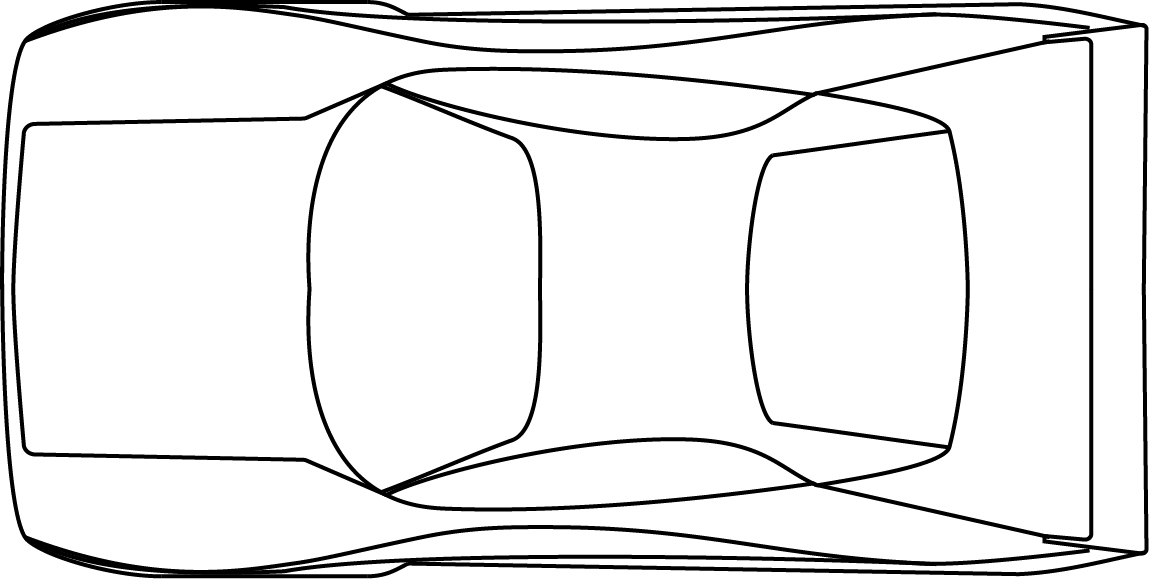
Sketching the lines
Like all good designs, it all starts with a simple perspective, free-hand line drawing. This is where the details of the design are made and refined. The better the sketch, the better the final product will be.


Taping the wall
Tape drawings are the next step in the development process. This is where issues in the freehand sketches will become apparent as there is no way to bluer the geometry. Suppose the sketch is accurate and well projected. In that case, the tape drawings only take a few hours to complete. If there are many issues, then development had to go back, and the required time increases.


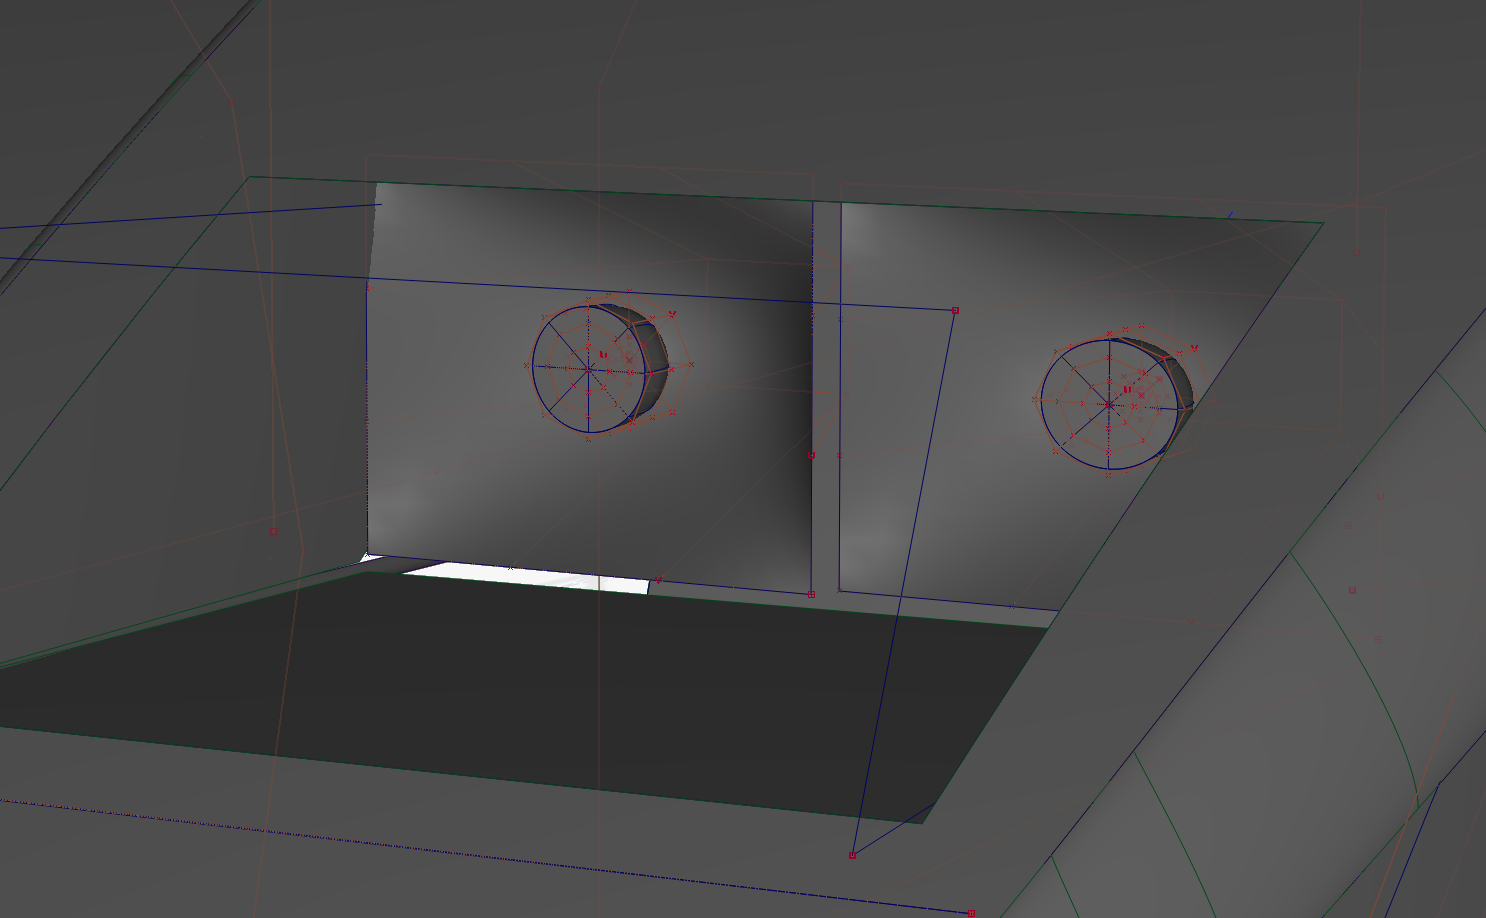
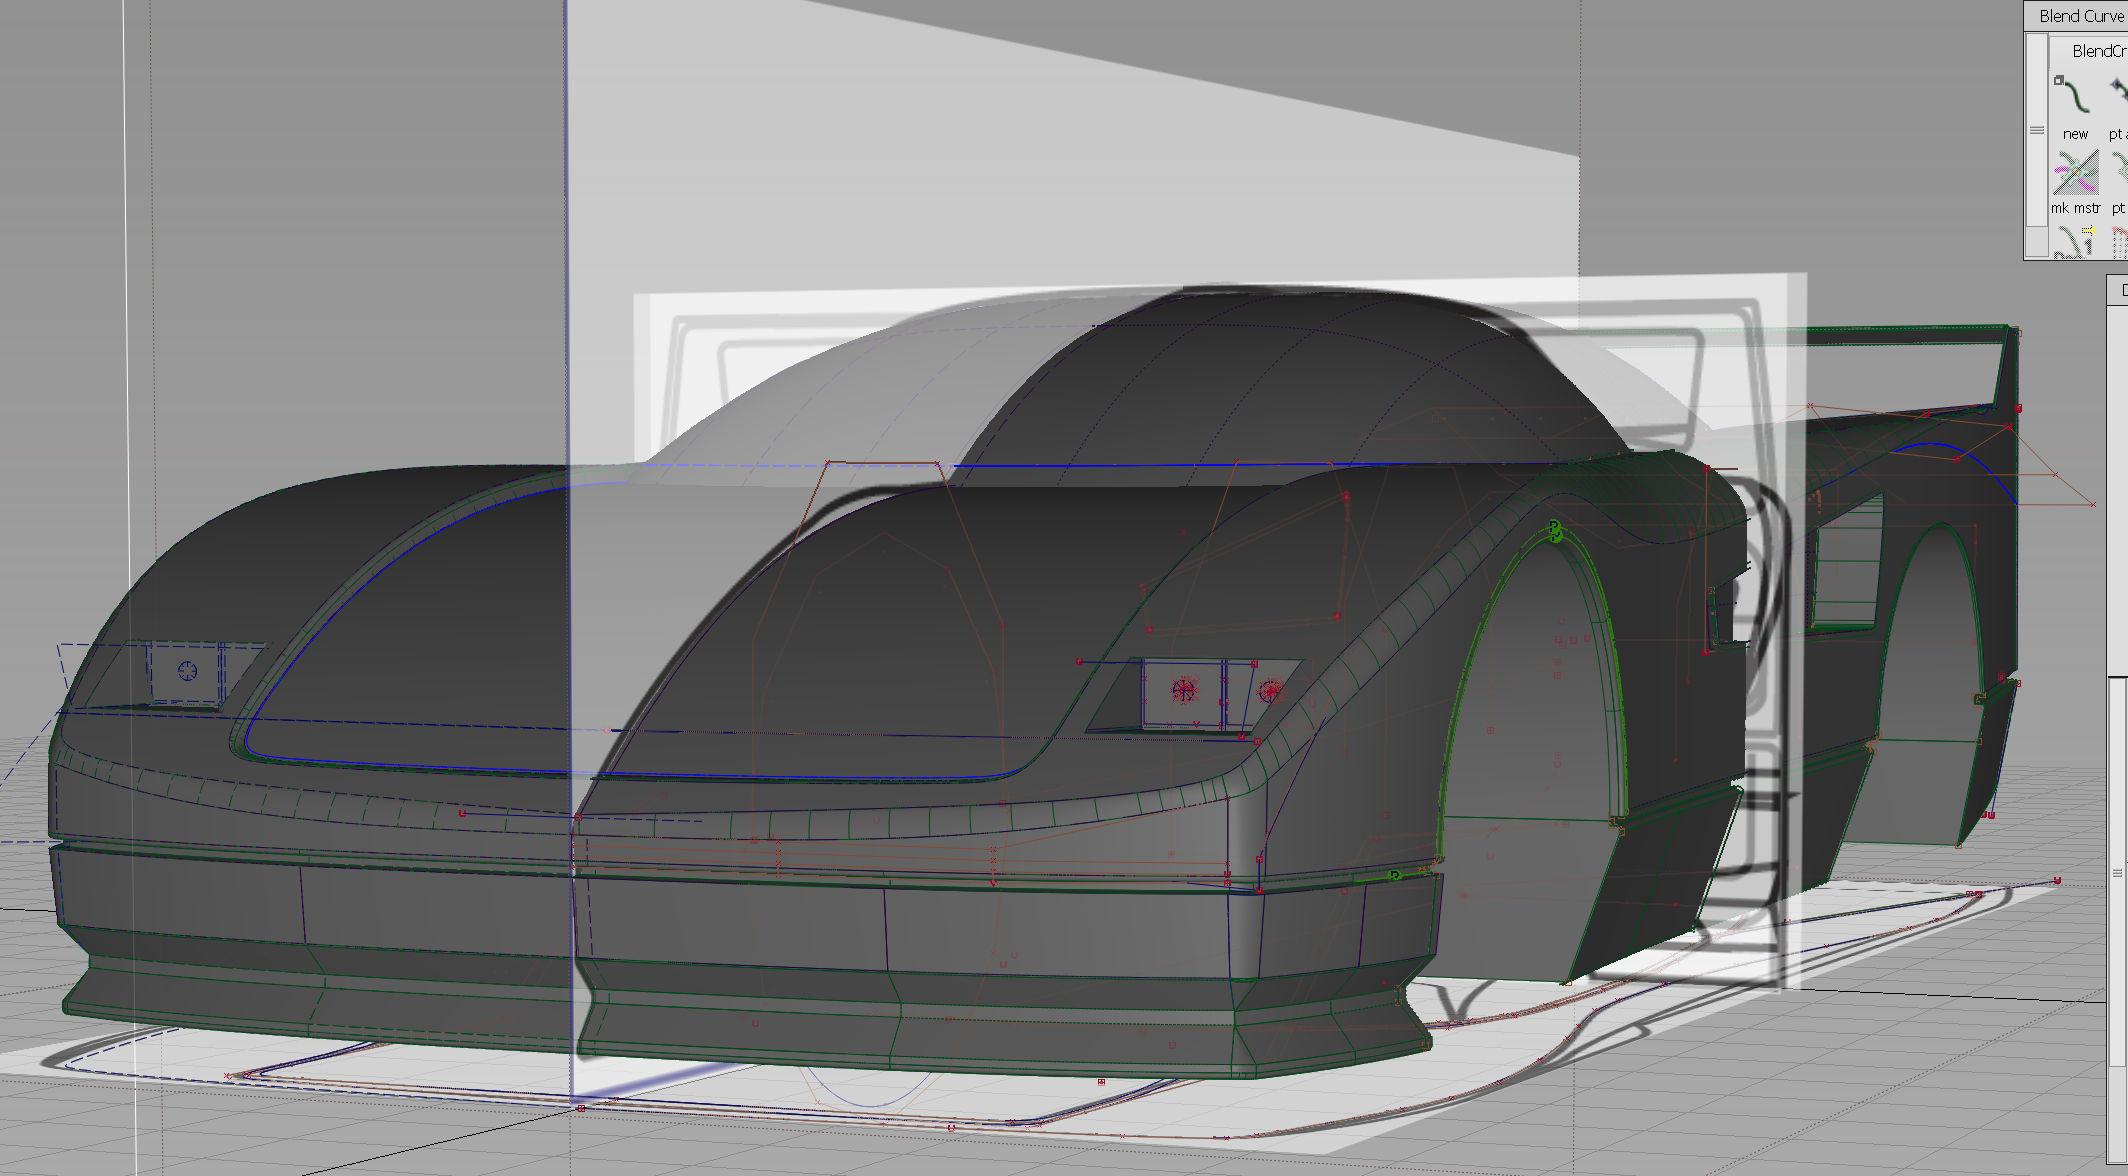
I have an Alias
I used Autodesk Alias to make the modal for this project. This is the second car I have made using this program. I rather enjoyed making the cad and putting in some of the final details like the headlights.


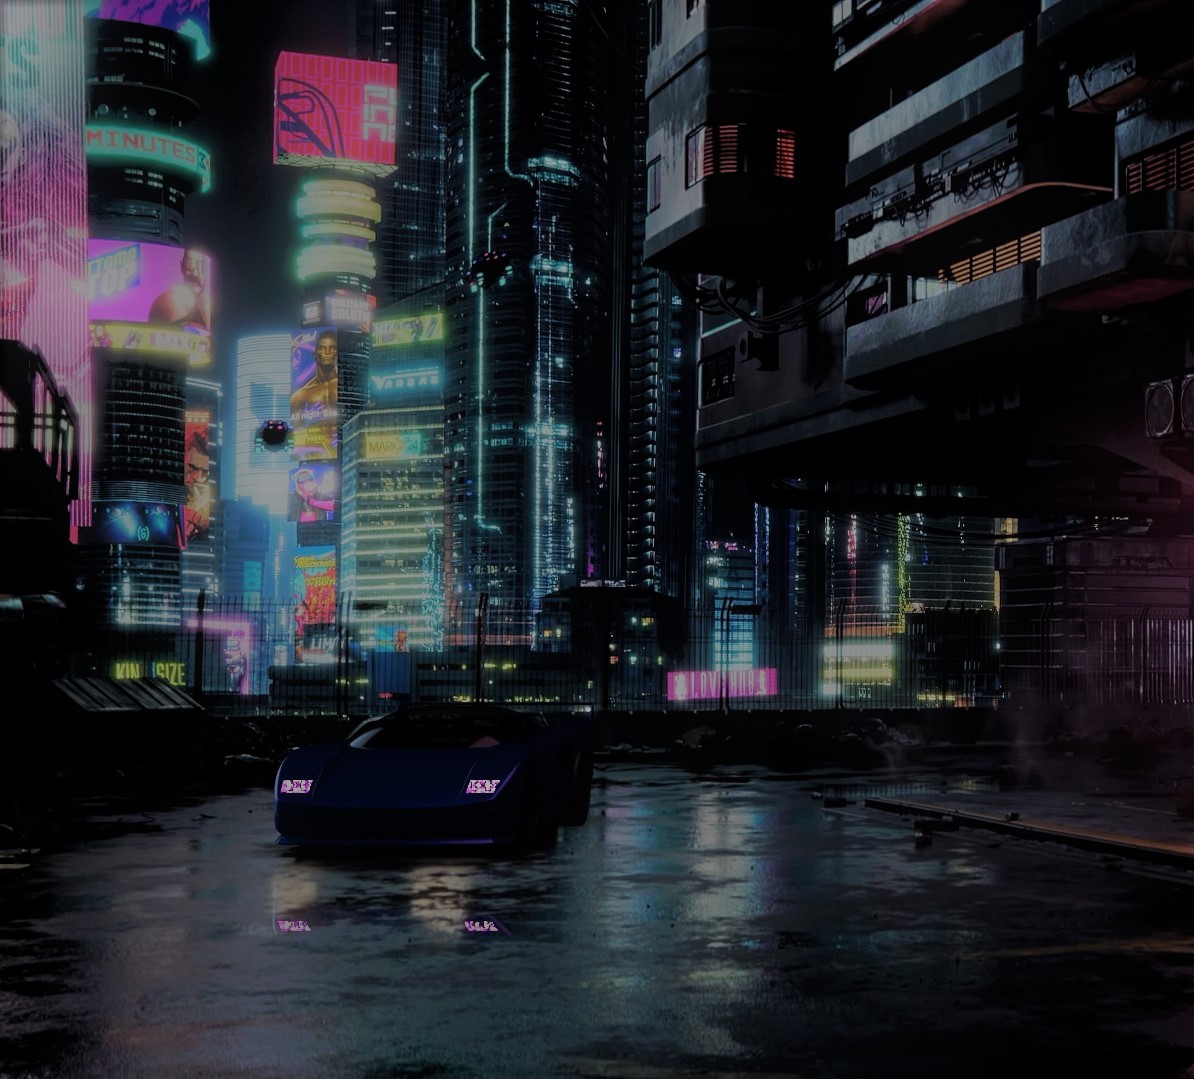
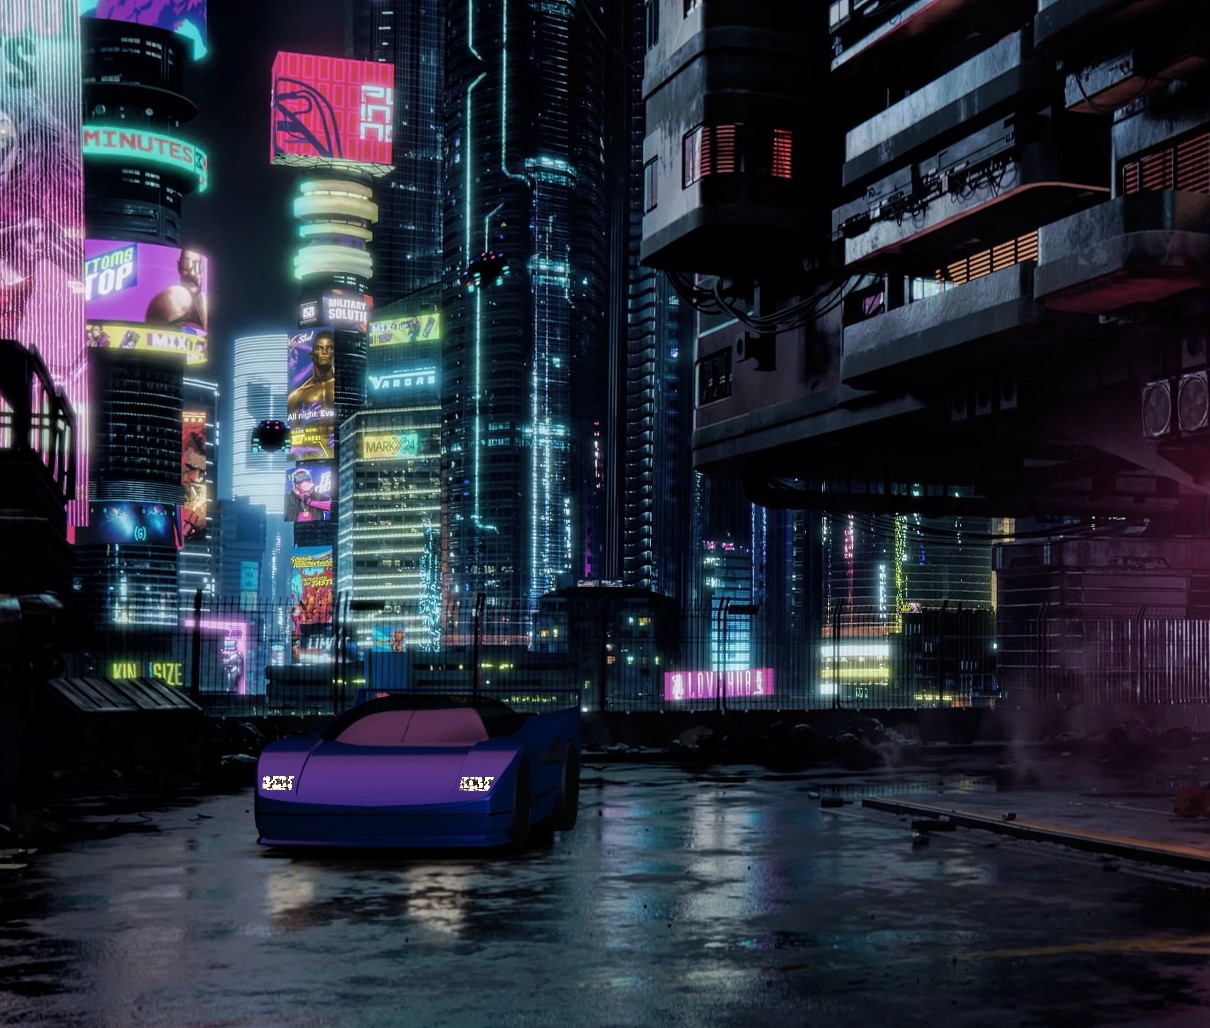
Getting that Keyshot
I use Keyshot throughout the process. This helps me better understand how the surfaces react with different lighting conditions and pinpoint potential mashing issues.

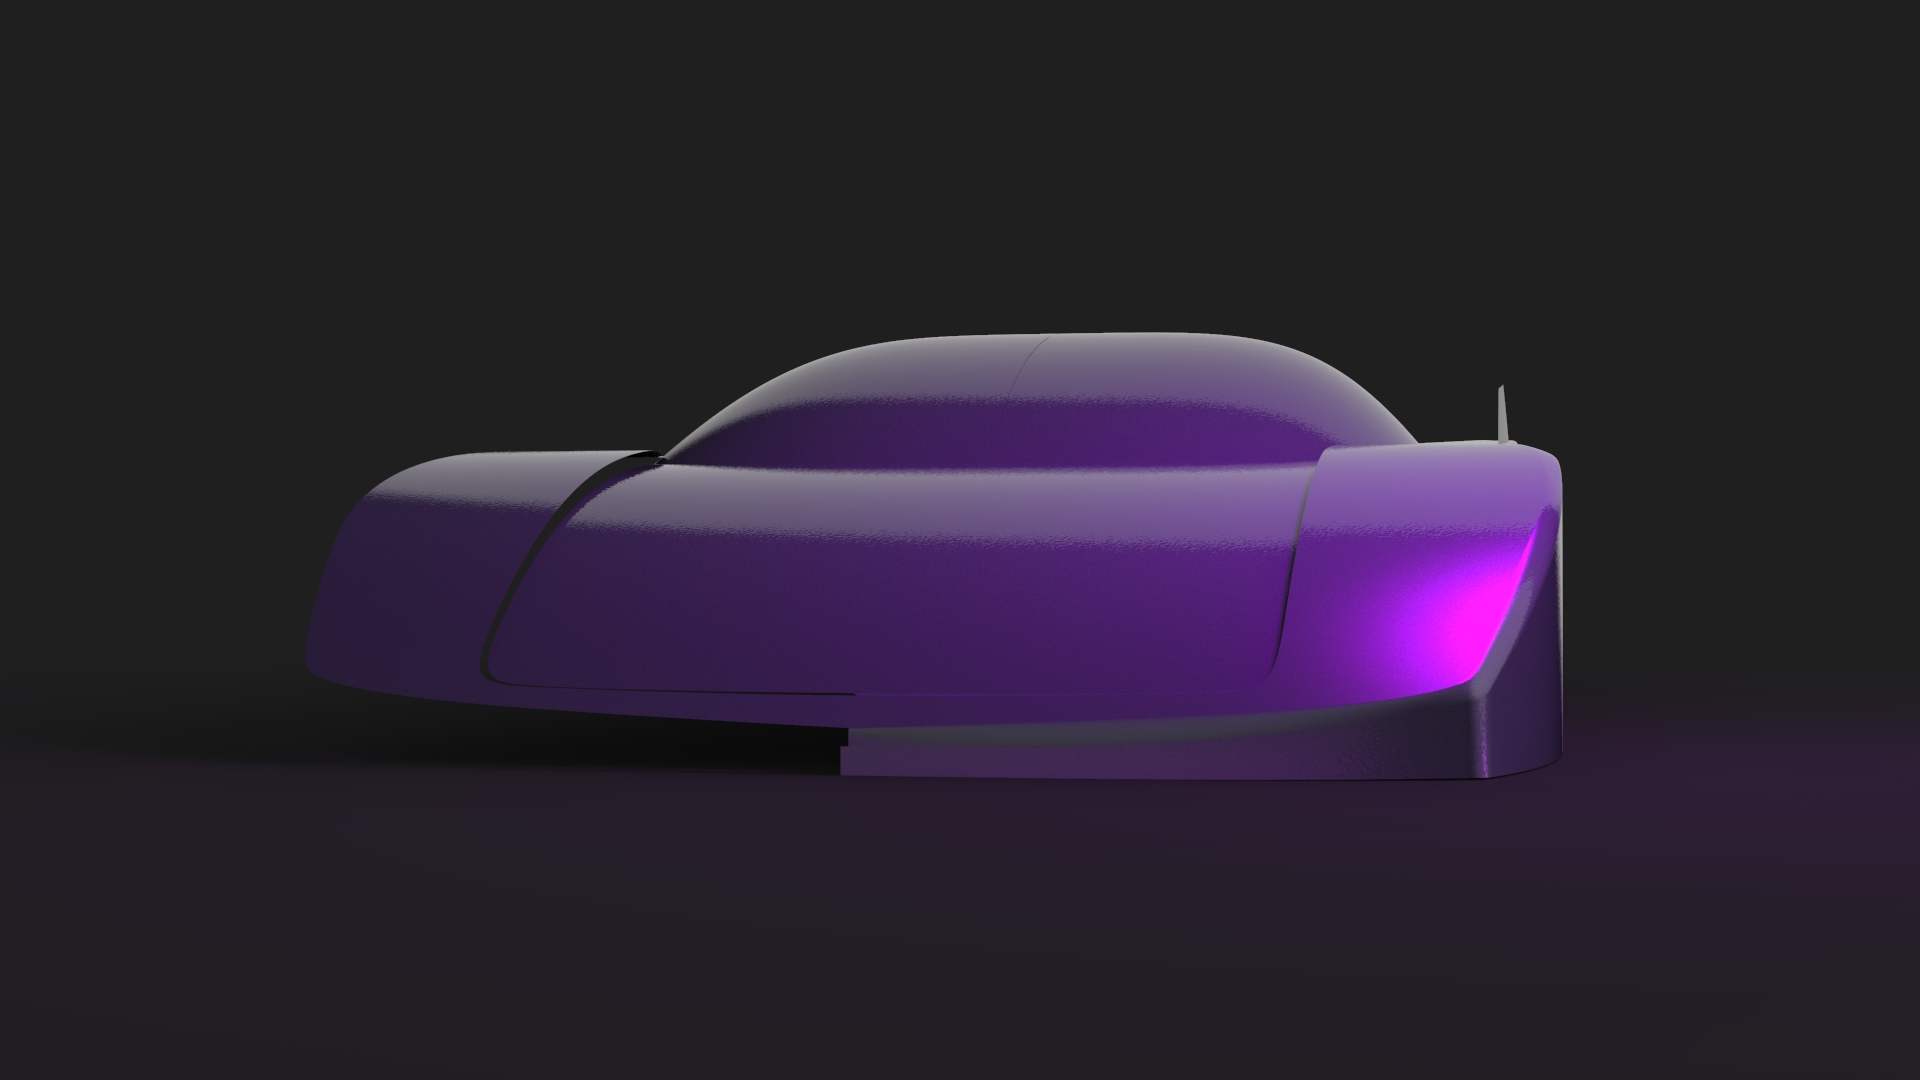
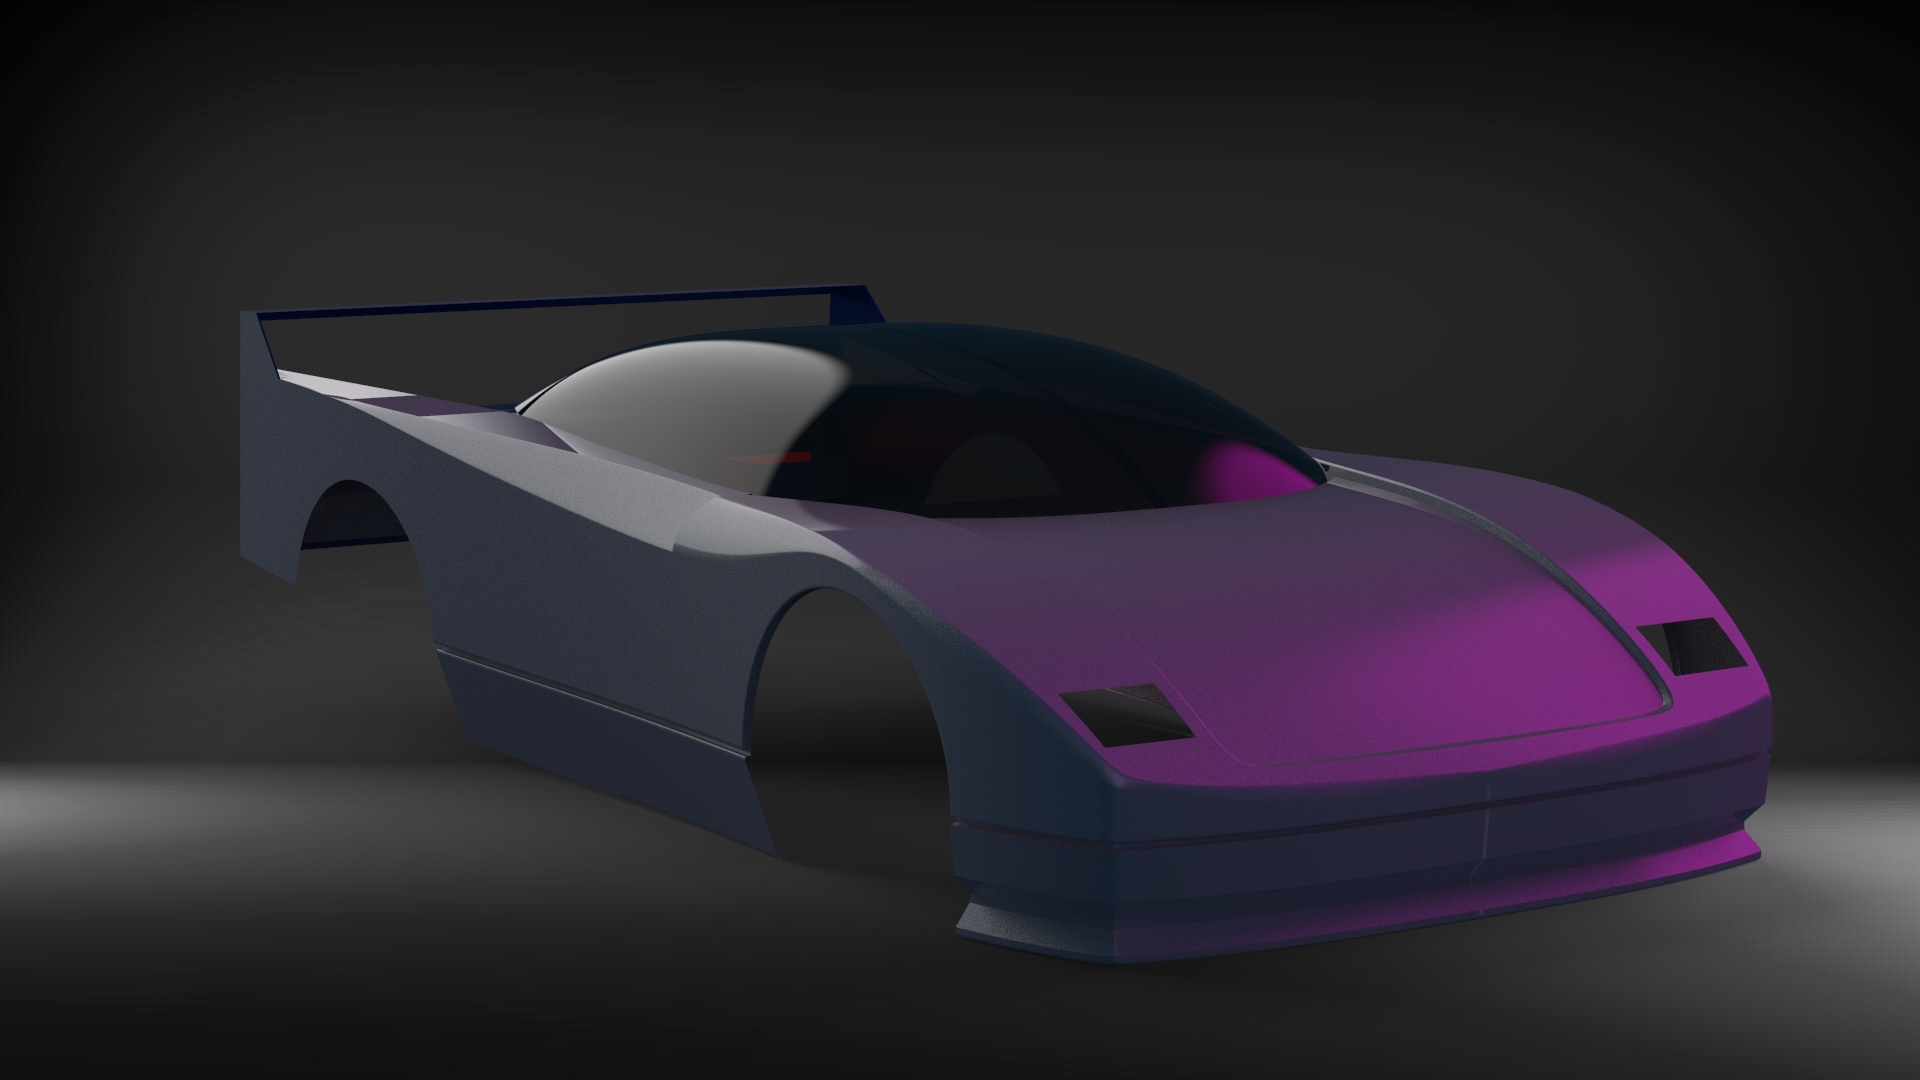
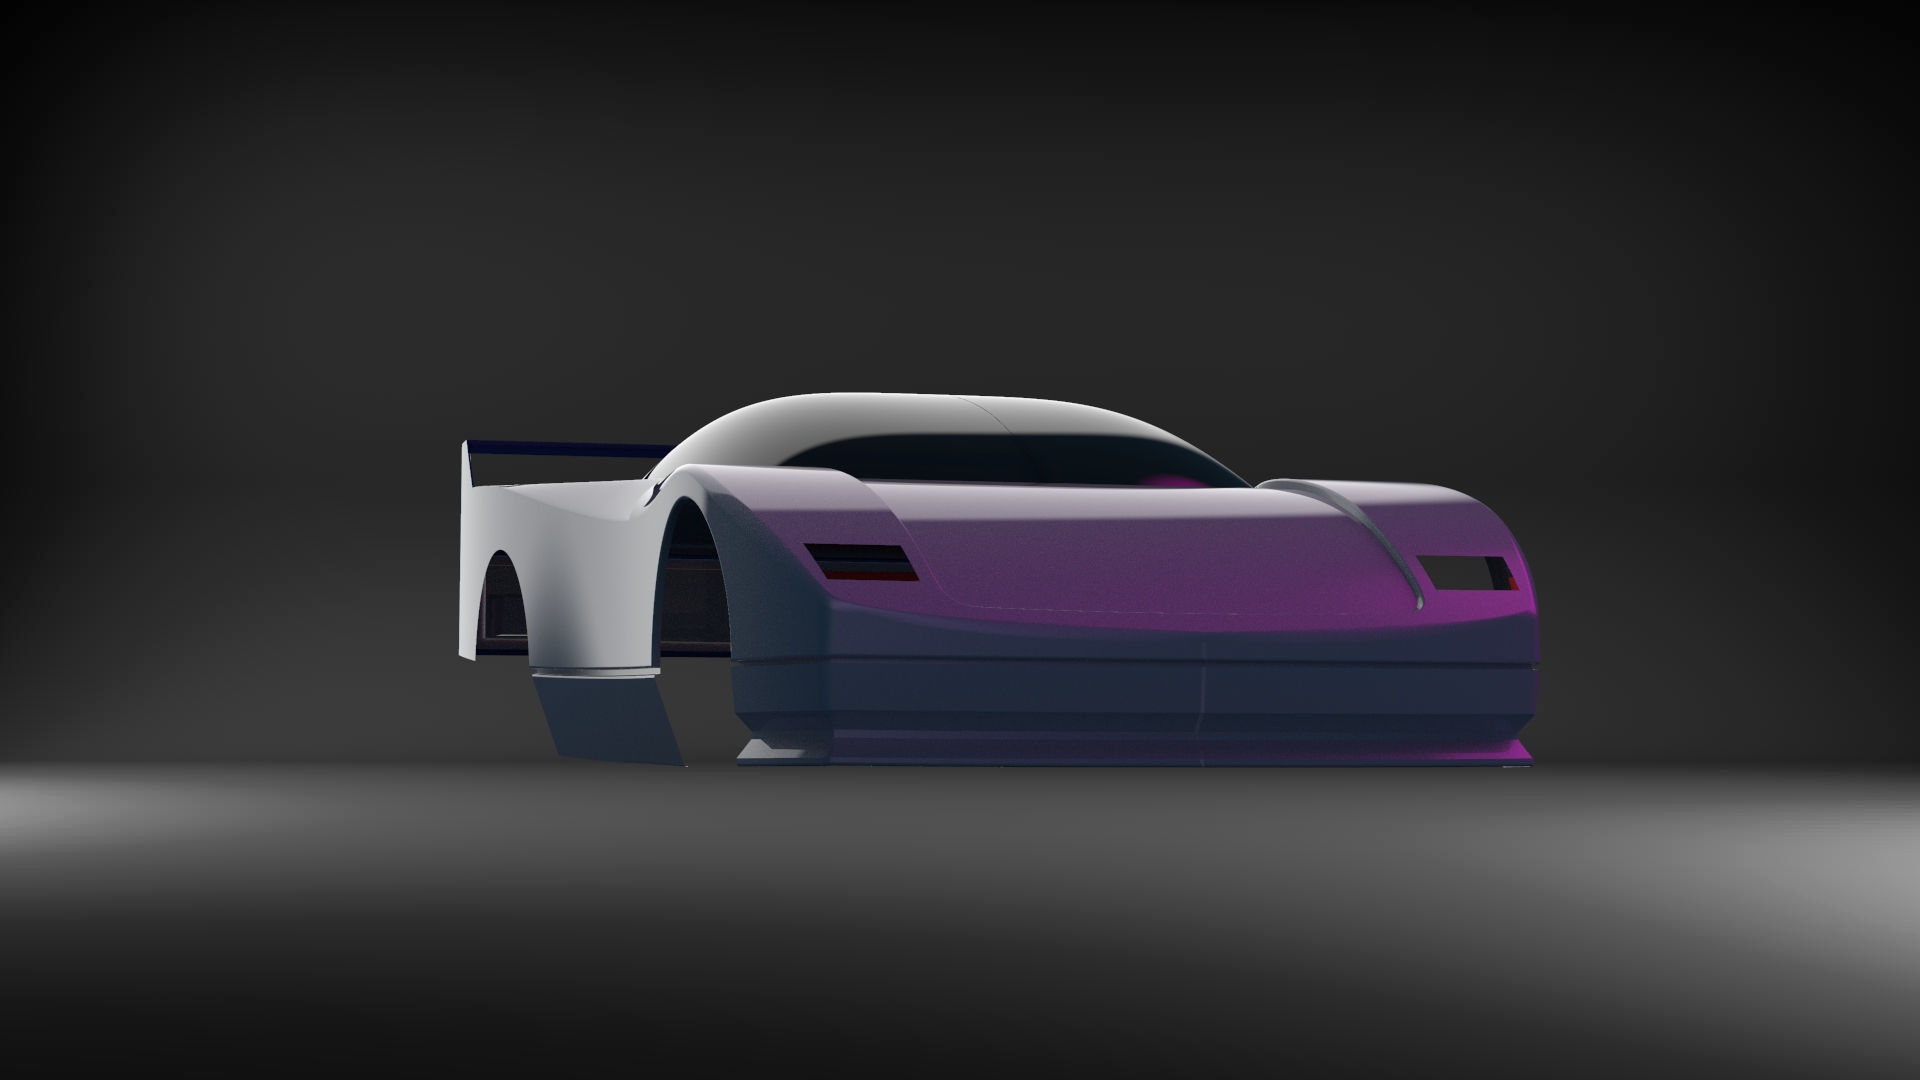
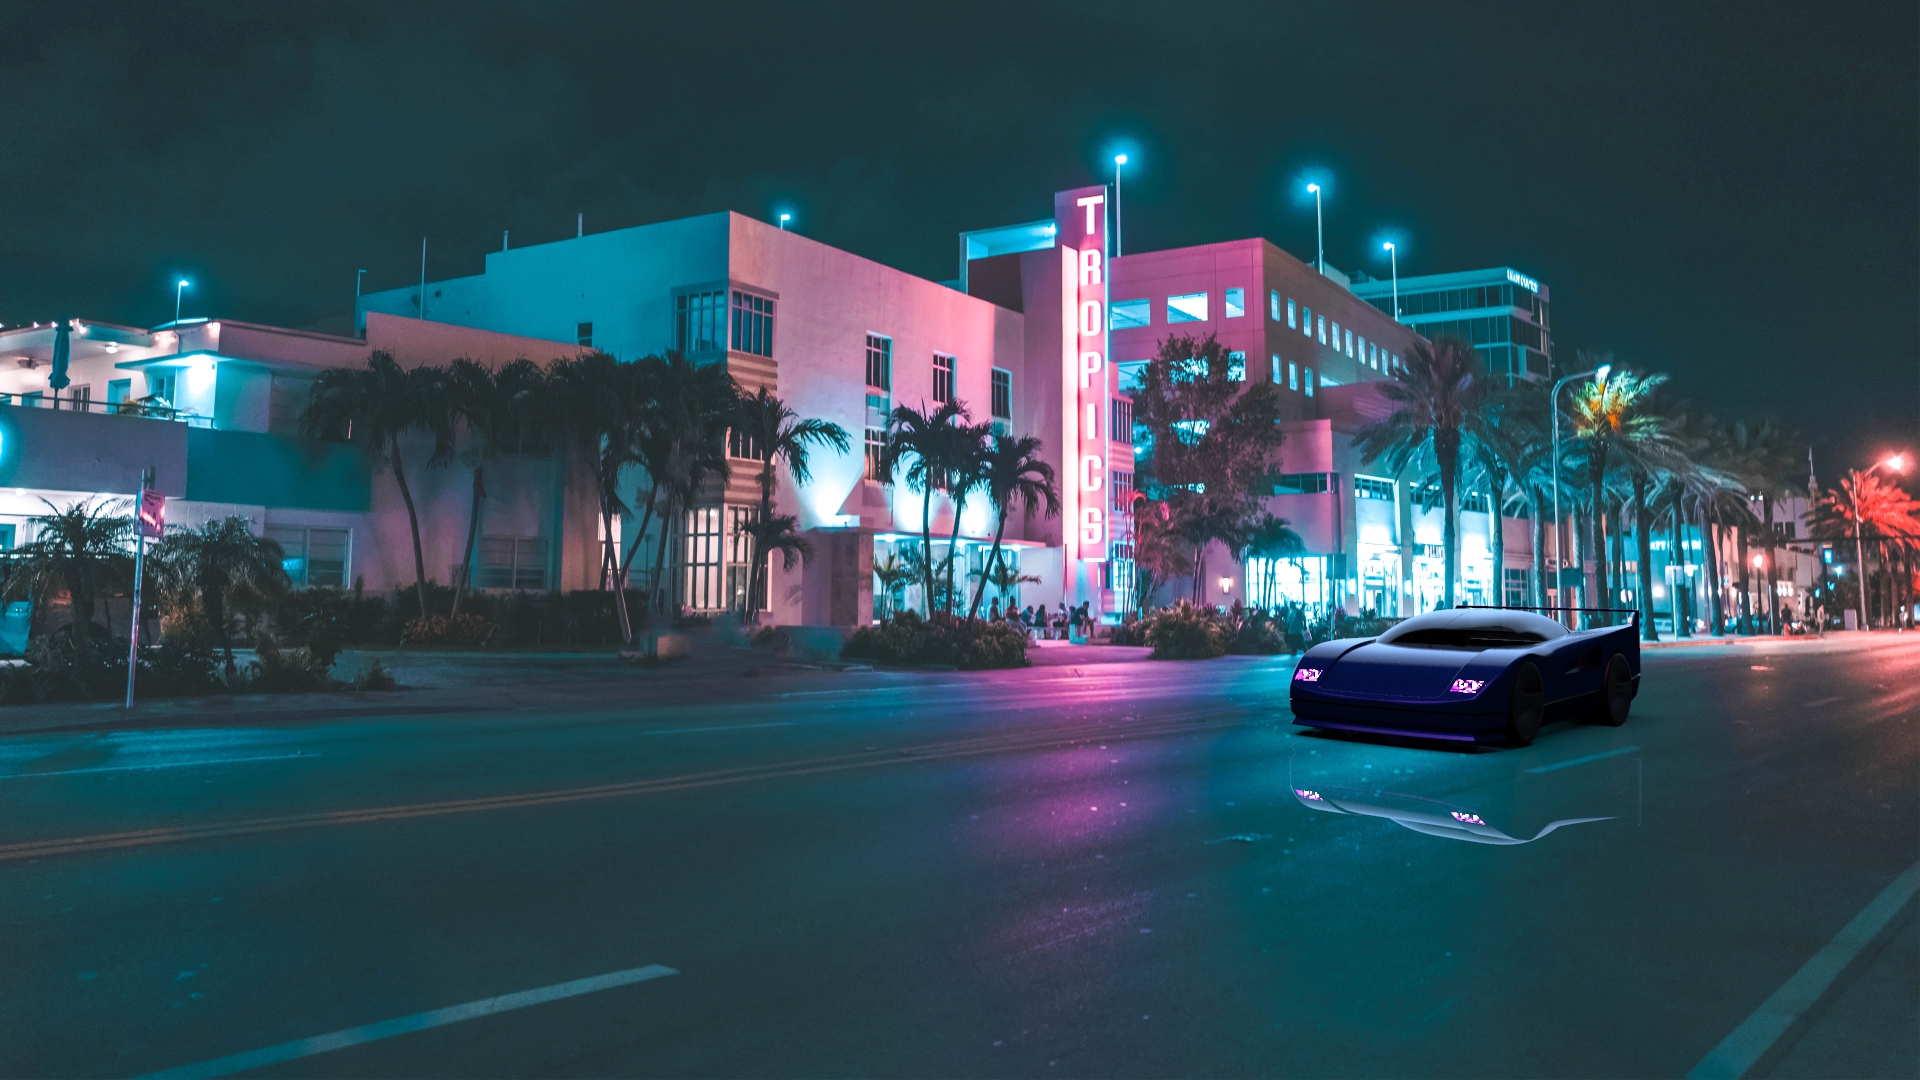
And after lots of coffee.
From start to finish, the project took me more than 40 hours to complete. Here are some of the renders that I made using the module